Nurturing Nature: My Pruning Wisdom for Edible Pollinator Plants
Pruning Techniques for Edible Plants
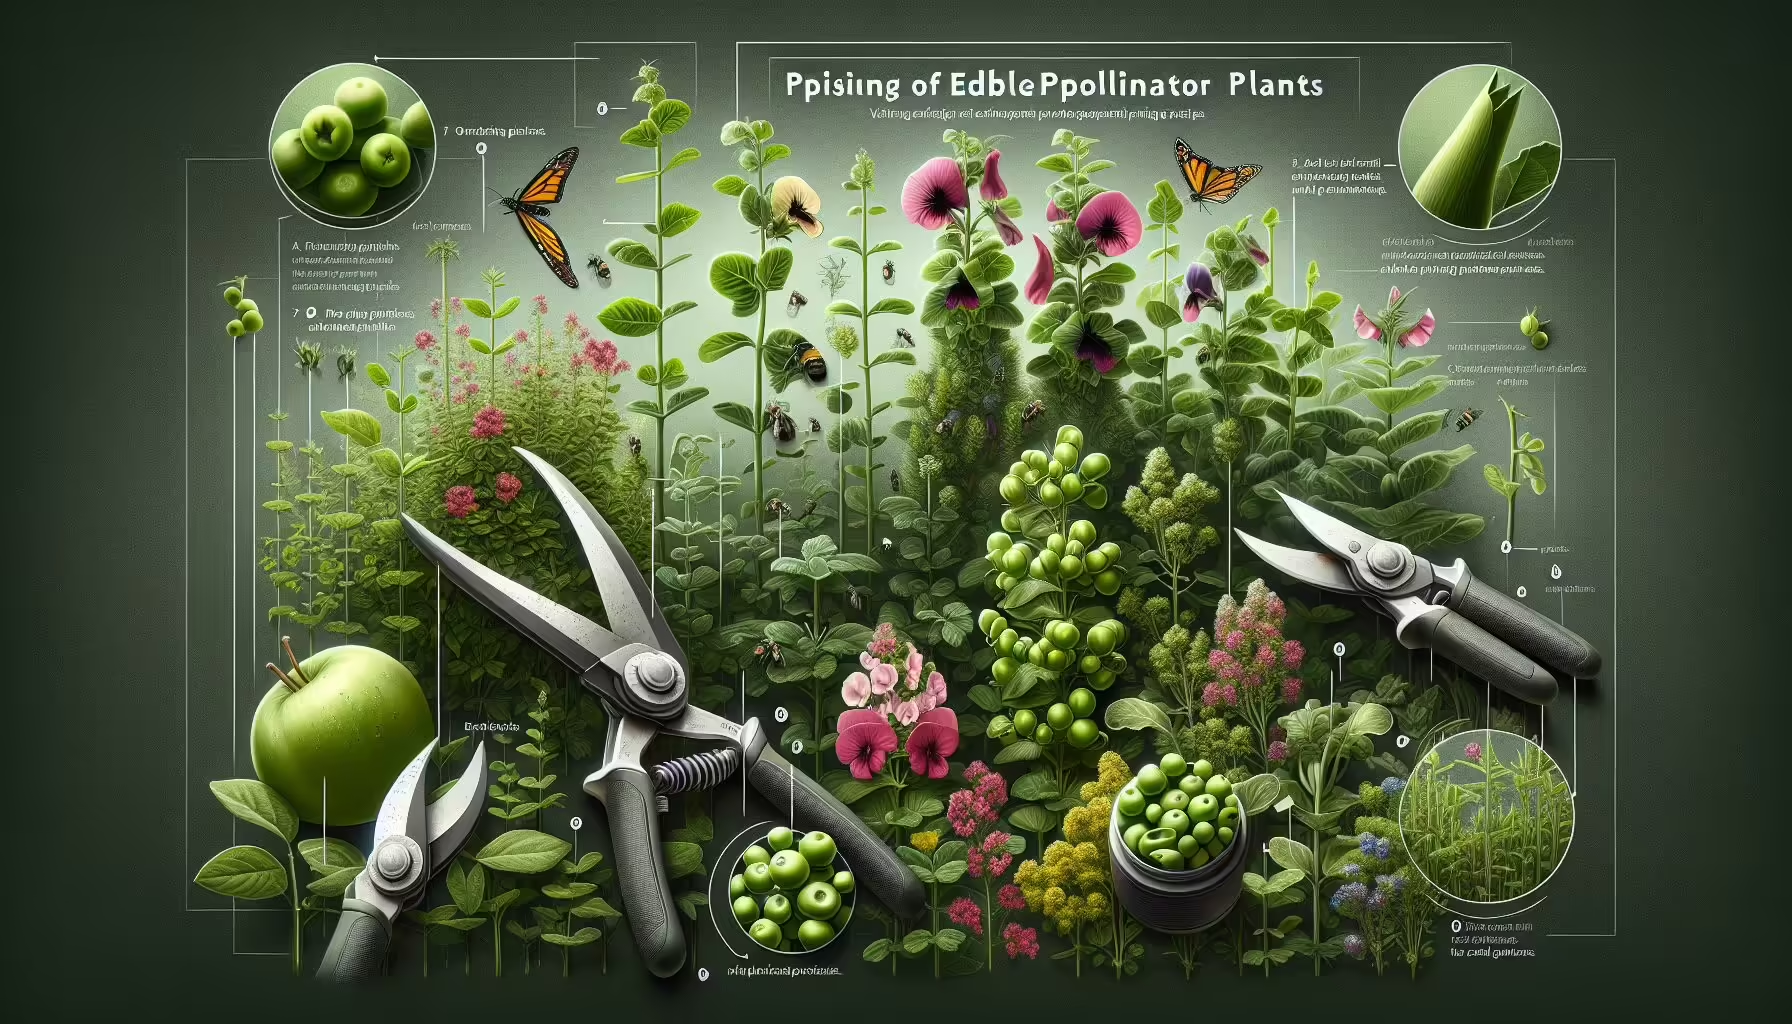
Pruning—it’s like giving your plants a haircut, but way more rewarding than the average salon visit. Keep those edible pollinator plants looking sharp, not just for their health, but to keep ‘em buzzing by attracting all the right pollinators to your garden. Here’s my two cents on pruning, especially when it comes to my leafy friend, dill, and some tricks to milk out that harvest for longer.
Dill Pruning for Bushier Growth
Chopping away at dill has to be one of my favorite pastimes. There’s just something about getting those stalks bushy and extending that harvest period. I’m no Edward Scissorhands, but I stick to a simple rule—don’t go snipping more than a third of the poor thing at a time. I hit the shears when the plants reach a proud six to eight inches. This method seems to pump up the plant’s toughness and overall yield like a botanic boot camp.
| Plant Height | Pruning Amount |
|---|---|
| 6-8 inches | Up to 1/3 of the plant |
| 12 inches | Up to 1/3 of the plant |
Keeping those flowers at bay is another pet project of mine. By pinching off flower buds, I keep the little plant machine laser-focused on growing leaves instead of wasting energy on flowers. Dill’s got a one-track mind sometimes, so this helps stretch out its productivity.
Pruning Strategies for Extended Harvest
Beyond dill, I’ve got a few sleeves-tricking strategies to draw out the harvest season. Snippy-snip at just the right times breathes new life into plants and keeps ‘em yielding enough to make even the Green Giant jealous. Here’s my go-to playbook:
- Selective Harvesting: I don’t go all “Timber!” on my plants. Instead, I steal some leaves or stems and come back for the rest later—no harm in being sneaky.
- Trimming Dead or Diseased Growth: Dead leaves are toast. Removing these sad little guys keeps my plants healthy and wards off any unwanted guests—looking at you, plant diseases.
- Encouraging Branching: For those lanky herbs that think they’re all that, I prune the tips to get them spreading wide rather than up. More branches, more leaves, more power to the plant.
These nifty techniques don’t just boost plant productivity—they attract all the lovable, garden party-crashing pollinators too. This helps me meet my little garden-dream project: a thriving edible pollinator garden that feeds my kitchen while helping out the local bugs too.
Benefits of Delaying Flowering
Putting off the flowering of my edible pollinator plants has its perks. It boosts plant growth and productivity—think dill, for example. With a little pruning and some TLC, I can create a garden that’s not just lush but also a haven for those vital pollinators we all love.
Pinching Flower Buds for Postponing Flowering
Now, one trick I swear by is pinching off the flower buds. This nifty move gives me a bit more time before those flower heads pop up. The plant ends up concentrating its energy on growing leaves, which means my garden stays green and leafy a little longer—perfect for kitchen adventures.
| Plant Size | What’s Up? |
|---|---|
| 6-8 inches tall | Start pinching flower buds |
| Every few weeks | Keep pinching to hold growth steady |
I’ve got this rule of thumb: never chop more than a third of the plant at once. Starting when my dill hits that six-to-eight-inch sweet spot really sets things on the right path for bushy, healthy growth (Savvy Gardening).
Enhancing Vegetative Growth with Pruning
Pruning, for me, does more than just delay blooms. It’s my go-to for getting that bushier plant vibe. It’s like an open invitation for leaves to flourish, giving me fresh, aromatic goodies for cooking and also making my garden irresistible to those buzzing pollinators.
Here’s what I love about pruning to ramp up growth:
| Good Stuff | What’s the Deal? |
|---|---|
| Bigger Harvest | More leaves can lead to a flower bonanza later. |
| Pollinator Party | Strong, healthy plants call to bees and butterflies. |
| Staying Healthy | Keeps plant diseases at bay with better air flow. |
I also make it a point to leave a bit of the pruned plant standing. Those cut stems become home sweet home for carpenter bees and other winged friends. Leaving around a foot of dead stem supports these critters and does wonders for my garden’s vitality (Garden Rant).
Applying these methods, I’ve got myself an edible garden that doubles as a buzzing hotspot for pollinators, guaranteeing my plants and the local buzz squad a sustainability high-five. If you’re keen on starting your own pollinator-friendly garden, hop over to our guide on how to start an edible pollinator garden.
Harvesting and Drying Dill
Caring for my pollinator garden has introduced me to the delight of picking and preserving dill. This tasty herb not only brings in the good bugs but also jazzes up my kitchen dishes. Here’s how I ensure dill’s deliciousness sticks around through careful gathering and drying.
Snipping Dill for Mouthwatering Taste
Getting that perfect dill taste is all about timing. I snatch those long stalks right before the plant’s about to bloom, when the flavor is just right. To keep it growing strong, I make sure I don’t clip more than a third of the plant, once it hits the six to eight inches mark.
Check out this rundown for picking dill at different stages:
| Plant Height | Best Harvest Time | Handy Facts |
|---|---|---|
| 6-8 inches | Start Clipping | Go for leaves and stems; don’t trim more than one-third. |
| Pre-bloom | Taste Adventure | Top moment to snag for cooking. |
Every bit of dill can be tossed into your meals—leaves, flowers, even the seeds. Fresh leaves give an awesome kick to any dish, while dried dill (yup, that dill weed you see in stores) is a must-have for your soup or stew adventures.
Keeping Dill Flavor Intact with Smart Drying
After gathering my dill, drying it comes next. I hang it upside down in a dim, airy space. This keeps its smell intact and ensures it dries evenly. Once it’s all dried out, I pop it into a tight container and store it away from light in the cupboard.
Here’s how I dry dill step-by-step:
- Clip at Best Time: Cut the dill right before the blooms for primo flavor.
- Get Ready to Dry: Toss any dead bits or dirt.
- Hang It Right: Bunch the stems and hang them upside-down in a dark, breezy spot.
- Wait It Out: Give it a few days till completely dry.
- Stash Smart: Drop the dried dill into a sealed container and keep it in a dark cupboard.
Using these steps, I savor dill’s fantastico taste year-round, plus it helps keep my pollinator garden thriving. Need more tips on edible gardens? Peek at our guide on starting your own edible pollinator haven.
Creating Homes for Busy Bees
Gardening for pollinators means more than just adding a splash of color with flowers—it’s about setting up comfy nooks for bees and their buzzing buddies to live and grow. I get a kick out of lending a hand (or a leaf) to our insect pals, especially the pint-sized carpenter bees. They’re like the unsung heroes of my backyard, and I’m excited to show you how we can roll out the welcome mat for them.
Making Cozy Cribs for Bees
To give small carpenter bees a warm welcome, I use a pretty nifty pruning trick. I leave about a foot of dead stem as a kind of high-rise condo for these gentle insects. It’s a simple move that gives them a perfect spot for laying eggs and raising their little bee larvae. By keeping some of that plant material around, we’re setting the stage for a family-friendly bee community Garden Rant.
Knowing the whims and wants of these bees helps me make smarter choices in my garden. They dig plants with strong and stable stems that don’t easily fall apart—perfect for moving in. Wild pruning can mess up bee spaces, so it’s key to snip with care and purpose.
Best Buds for Little Carpenter Bees
Picking the right plants isn’t just about looks—it’s about making bees happy, too. Here are some top picks:
| Plant Type | Notes |
|---|---|
| Raspberry | Offers solid, durable stems for nesting |
| Douglas Aster | Strong foundation for bee hangouts |
| Goldenrod | Loved for its structure and yummy pollen |
| Perennial Sunflower | A two-in-one food court and apartment |
I steer clear of plants with flimsy stems because they’re like bad landlords for these tiny tenants. By focusing on sturdy plants, I create a bee-friendly paradise, helping to keep the garden alive and buzzing.
Keeping an eye on these little touches not only boosts my garden’s output but also turns it into a paradise for pollinators. After all, they play a star role in helping plants grow and maintaining the local wildlife scene. For more bee-friendly gardening tips, check out how to start an edible pollinator garden.
Importance of Pollinator Gardens
Growin’ a garden ain’t just about purdy flowers; it’s about strikin’ a balance with nature, supportin’ those buzzy bees, fluttering butterflies, and even birds that help our plants do their thing. Every time I tend to my garden, I’m not just plantin’ seeds but settin’ a table for nature’s little helpers. Here’s why these gardens matter so much to me.
Supporting Ecosystems Through Garden Design
When I plan out my garden to welcome pollinators, I’m givin’ nature a hand where it needs it most. With pollinators facin’ all sorts of challenges from losin’ their homes to the chemicals and changes in weather patterns, creatin’ a safe haven for them feels like the least I can do (Drummers Garden Center).
Consider these bits and pieces to make your garden a pollinator’s dream:
| Garden Design Element | Purpose |
|---|---|
| Native Plants | These draw in local pollinators and dish out a buffet. |
| Diverse Flowering Plants | Keeps the blooms and food comin’ all season long. |
| Sturdy Stems | Makes a cozy spot for nestin’, especially for them tiny carpenter bees. |
| Water Sources | Everybody gets thirsty, even bugs, so it keeps ’em comin’ back. |
Throw in some edible plants like catmint, bee balm, lavender, and herbs like thyme, dill, and fennel; you got yourself a pollinator party in your patch (House Beautiful).
Attracting Bees and Butterflies to Your Garden
If you’re lookin’ to watch your garden buzz with life, make sure you have flowers bloomin’ all season. This way, them bees and butterflies will always have a feast laid out. Here’s what I do:
- Layering Plants: Tuck the tall ones in the back like you’re arrangin’ concert seats. This way, even the smallest critters can see and reach ’em easily.
- Choosing Edible Flowers: Plants like nasturtiums and borage don’t just look good; they serve up a dual – pretty and edible.
- Leaving Stems Standing: Give a haircut and leave a bit of stem stickin’ up; it’s like openin’ a new apartment complex for small bees (Garden Rant).
When my garden hums with activity, not only do the local critters thrive, but it jazzes up my veggie patch, leading to tastier yields. Mixin’ in those edible flower plants makes all the difference, offering shade of sustainability to the environment. If you’re keen to learn more, check out our guides on how to start an edible pollinator garden or best companion plants for edible pollinator gardens for some pointers.
Understandin’ the worth of pollinator gardens means craftin’ a space that buzzes with life, where plants and critters dance around in perfect harmony.
Spring Pruning Chores
As spring tiptoes in, I’m buzzing with excitement about the work awaiting me in my little pollinator paradise. Springtime is like a fresh start, a chance to check off those must-do tasks that help my pollinating pals flourish. Two big ones on my agenda are snipping back herbaceous plants to create snug bee abodes and keeping the weeds in check.
Cutting Back Herbaceous Plants for Nesting Sites
First on my list is trimming those herbaceous plants that held on during the chilly months. This isn’t just busy work—it’s crucial since it helps create hideaways for stem-nesting bees. Around a quarter of native bees, especially in spots like North Carolina, cozy up in plant stalks Growing Small Farms.
When I get snipping, I try to leave about 8 to 24 inches of stem. Why? This length is just right for bee homes and also kicks plant regrowth into gear as spring does its thing. For those little carpenter bees who dig lower stems, I make sure to leave a cool 12 inches so they can nest happily Garden Rant.
| Plant Type | Recommended Stem Height (inches) |
|---|---|
| Herbaceous Perennials | 8 to 24 |
| Dead Stem for Bees | 12 |
Weeding Strategies for Pollinator Gardens
When spring hits, it’s weeding time to keep my pollinator haven in tip-top shape. Left unchecked, weeds can be like garden bullies, hogging all the good stuff from my native plants. My go-to move is “rescue weeding,” where I leap into action to clear out weeds trying to muscle in next to tender perennials before shifting focus to wider patches.
Some of the springtime troublemakers include:
| Common Weeds | Characteristics |
|---|---|
| Chickweed | Sprawls all over |
| Creeping Charlie | Hugs the ground, four leaflets |
| Purple Deadnettle | Pops with purple flowers |
| Dandelion | Bright yellow heads |
I’m always on the lookout for these characters because they love to butt heads with my delicate pollinator-friendly plants. By routinely yanking these intruders, I keep the natives thriving, which means more snacks and homes for bees and butterflies.
Trimming those herbaceous plants and battling garden weeds are my recipes for a buzzing, blooming scene where nature and nurture do the tango. And for those green-thumbed rookies out there, why not peek at our article on how to start an edible pollinator garden? It’s packed with tips to kickstart a vibrant pollinator project that makes our buzzing buddies feel right at home.


Post Comment